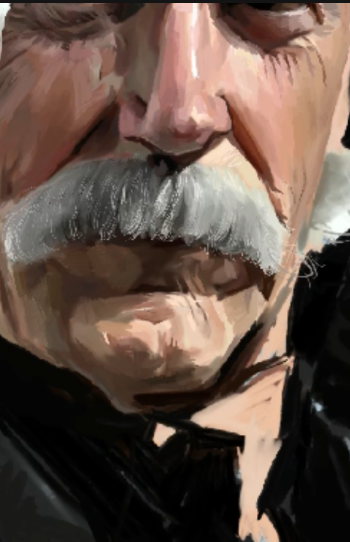
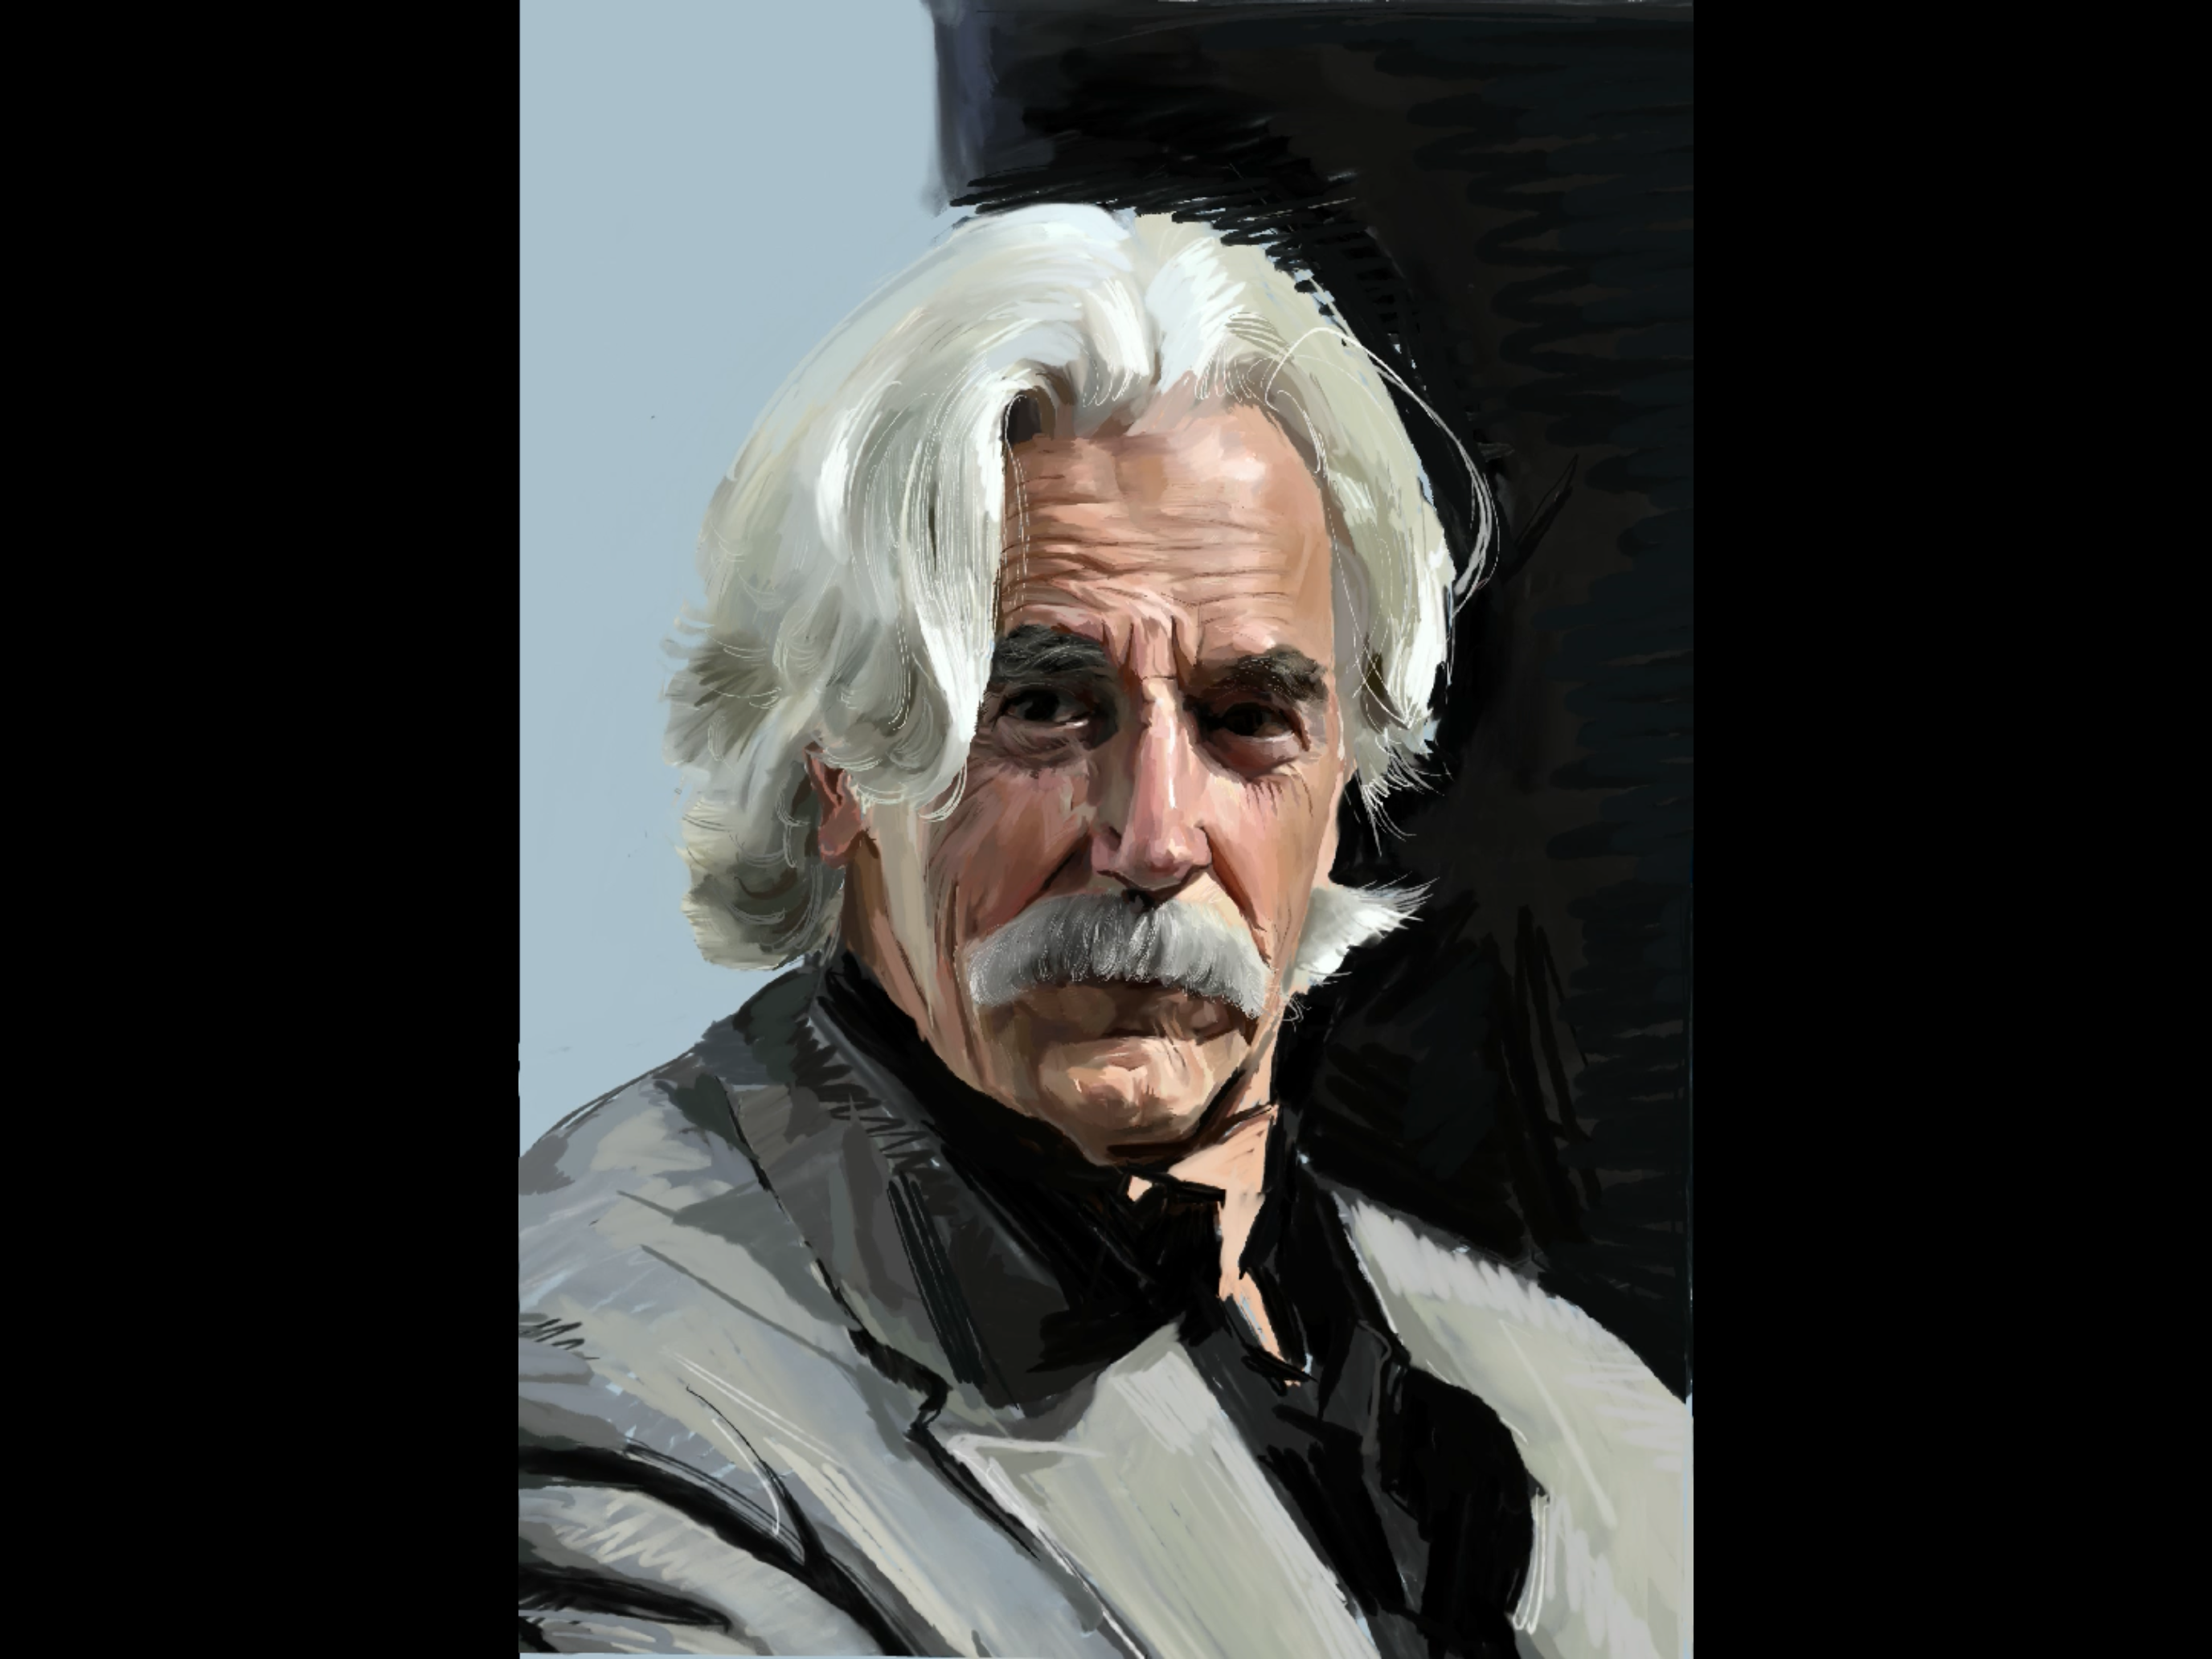
A complete walk-through of an impasto portrait — from blank canvas to the final stroke.
From volume drills on basic solids, to a full breakdown of an impasto portrait; from facial-feature close-ups, to the surface language of skin and fabric. Each chapter teaches a single skill you can carry away on its own.
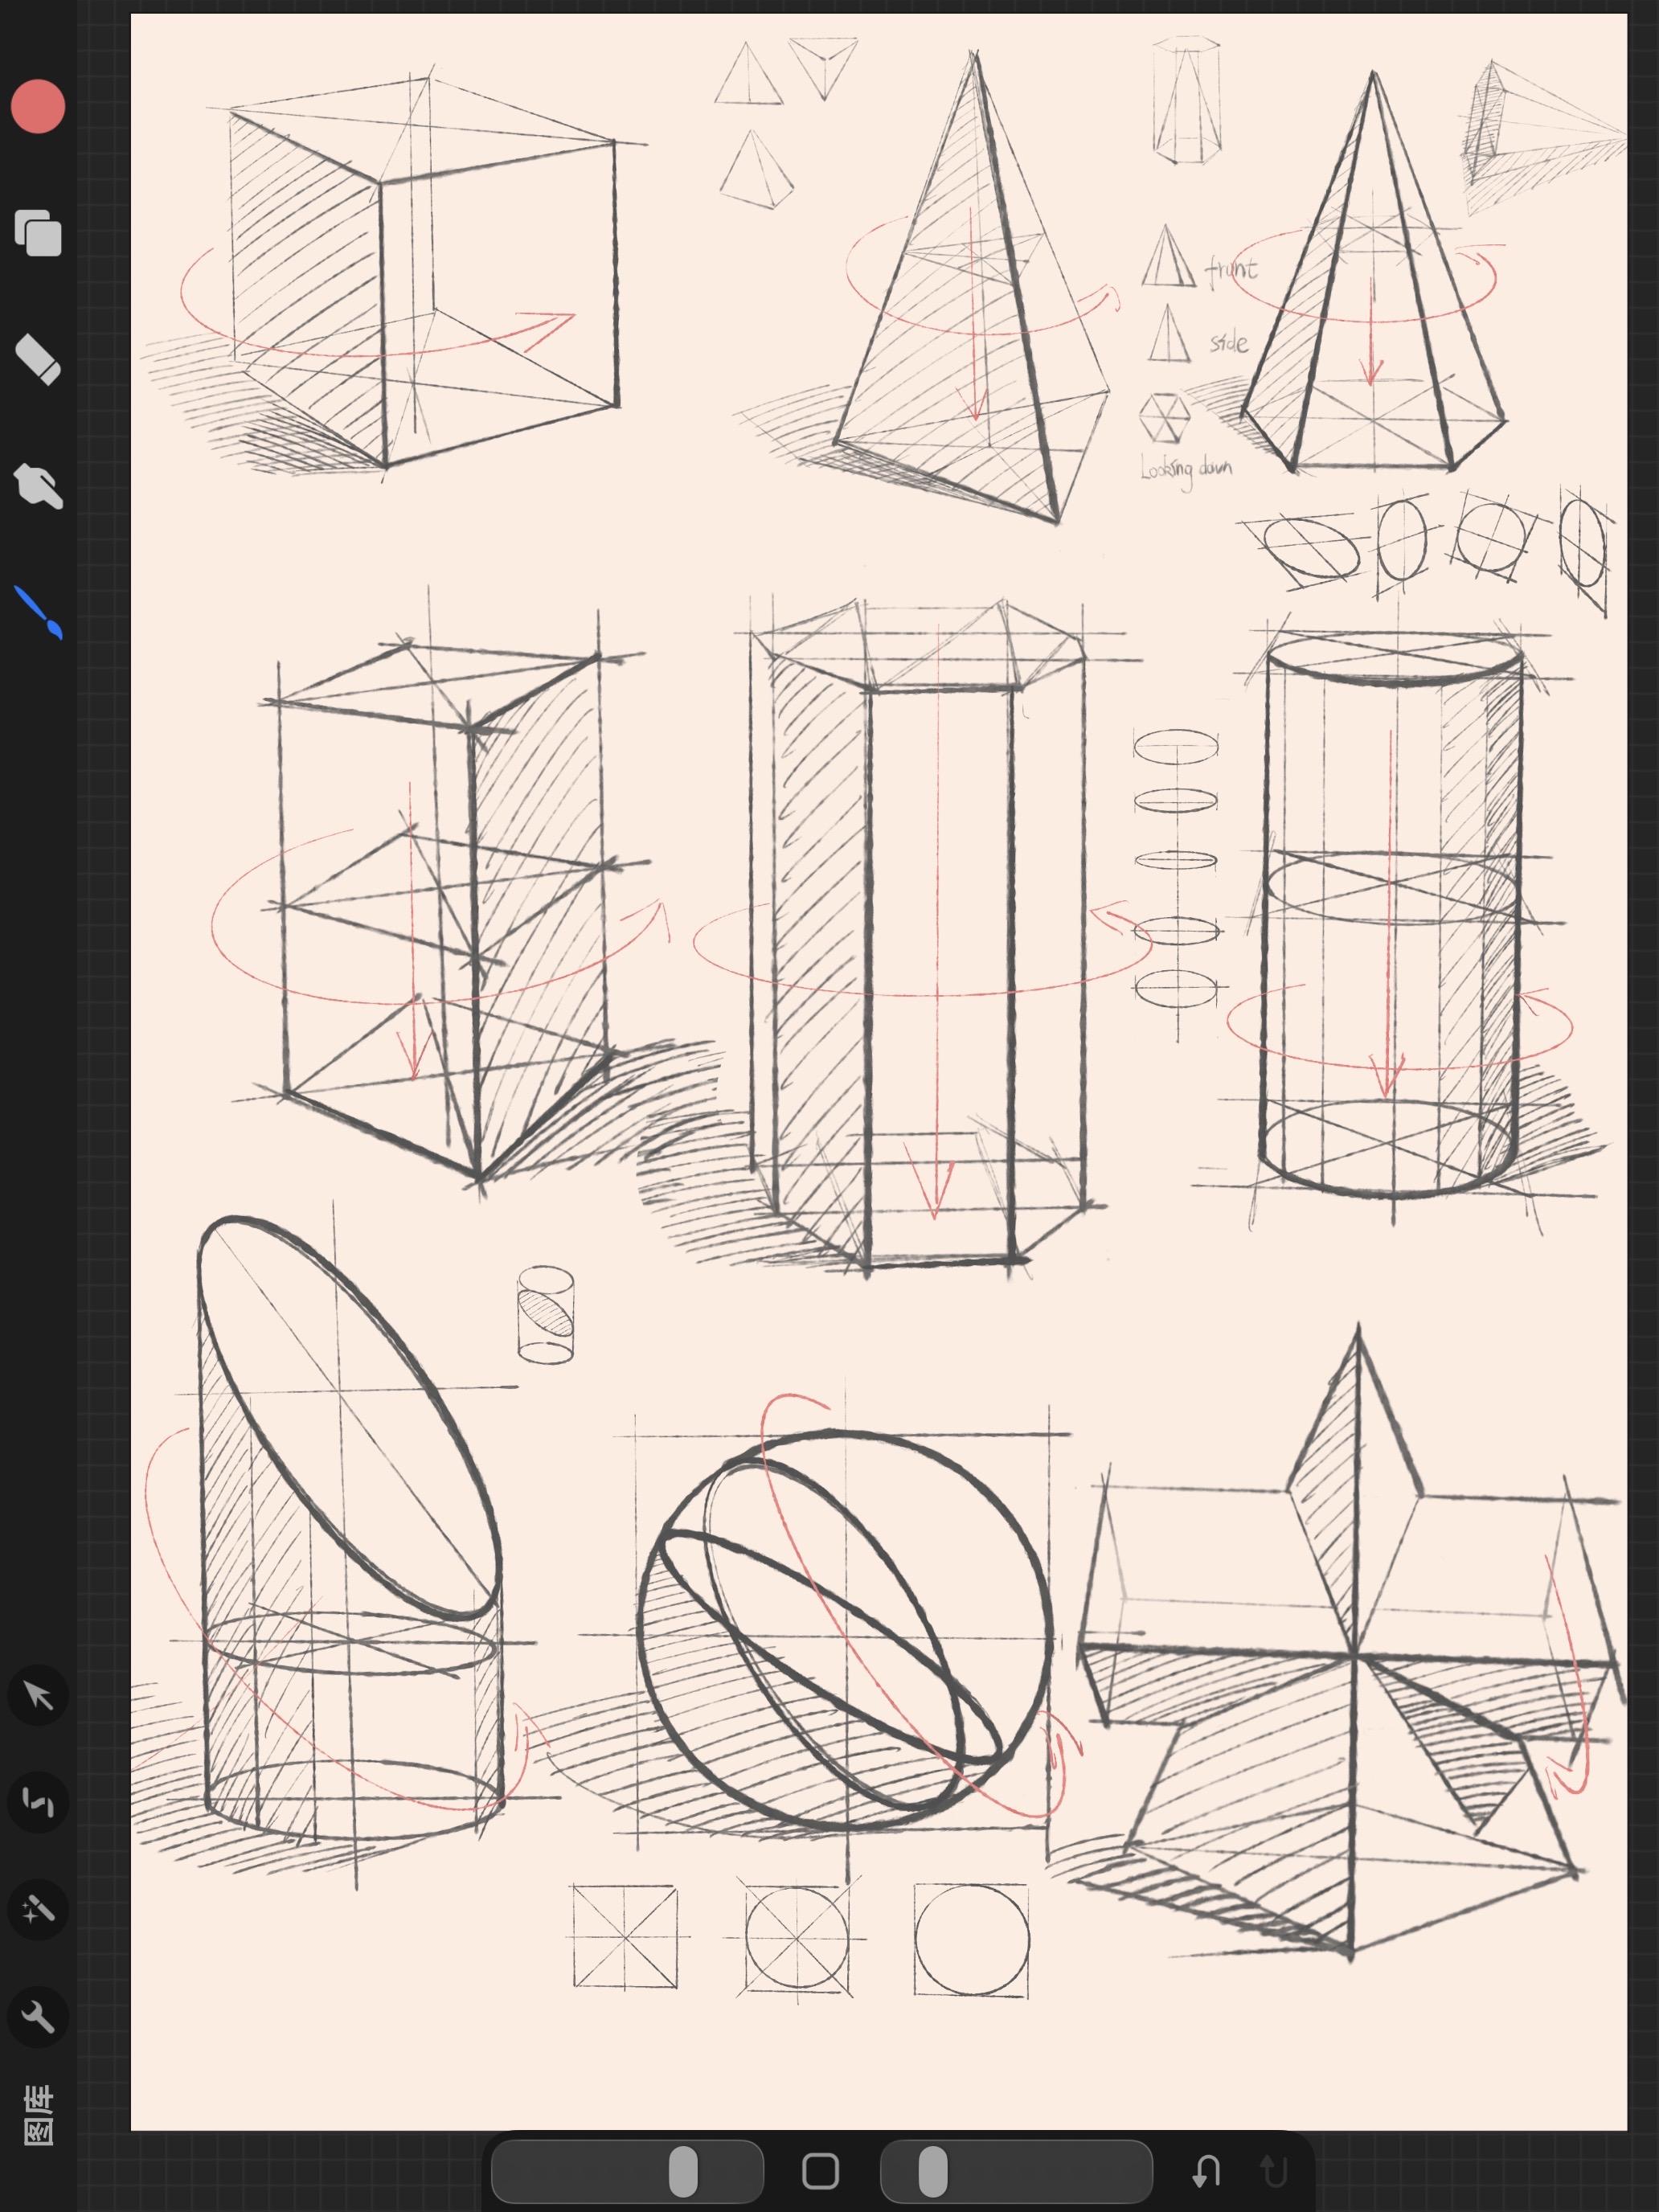
Hi — I'm an art hobbyist. Three years ago I opened Procreate for the first time and turned "impasto" into a pile of muddy color blocks. No structure, no volume, no light.
This site doesn't sell shortcuts. It maps out the detours I took — back to geometry first, then to light and shadow, and only then to "brushwork." If you're stuck where the color blocks won't sit right, I hope this helps you cross over.
Every brush, reference and palette used in this course — gathered here. No sign-up, just take what you need.
Six custom brushes: chalk for sketching, palette knife for blocking, soft blender, hard detail tip, contour liner, and oil texture stamp.
Download .brushset →The exact 18-color Procreate palette used in this course — skin tones, white hair greys, dark background. Drop it in and paint.
Download .swatches →20 HD portrait references (CC0) plus the 4 original geometry sheets — everything you need to finish the Chapter 00 drills.
Download .zip →