Foundation Course: Understanding Impasto Volume Through Solids
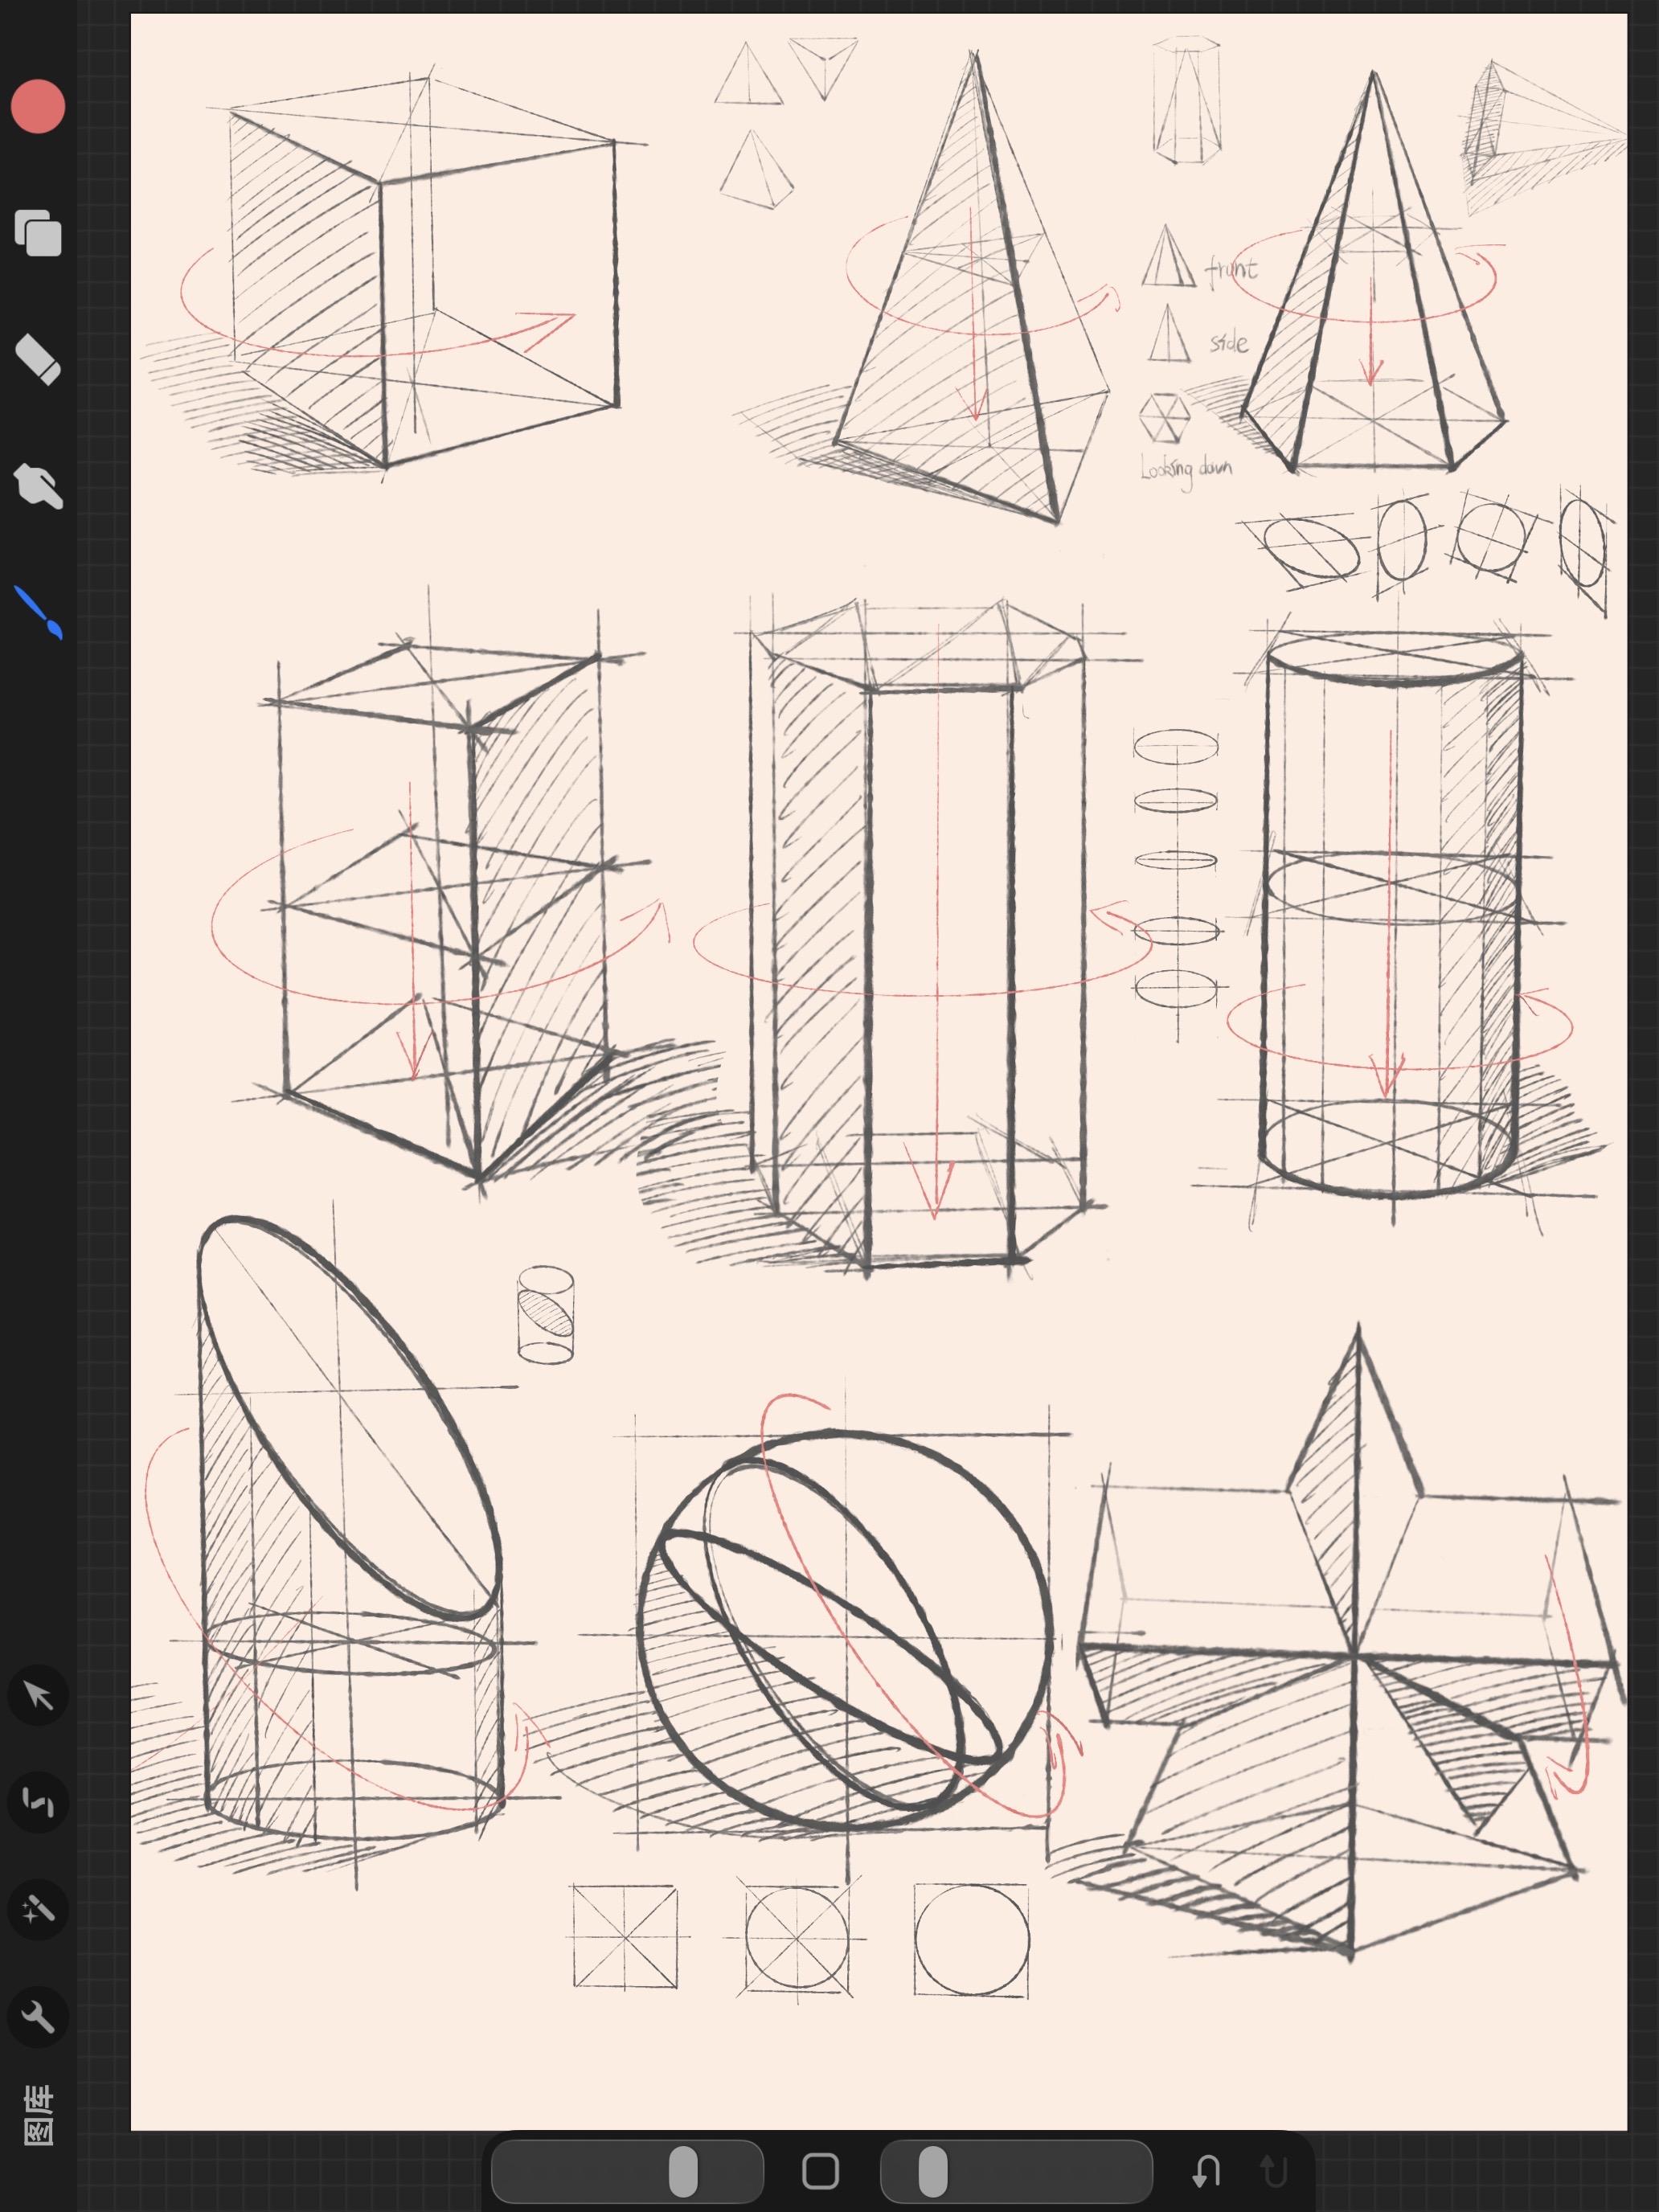
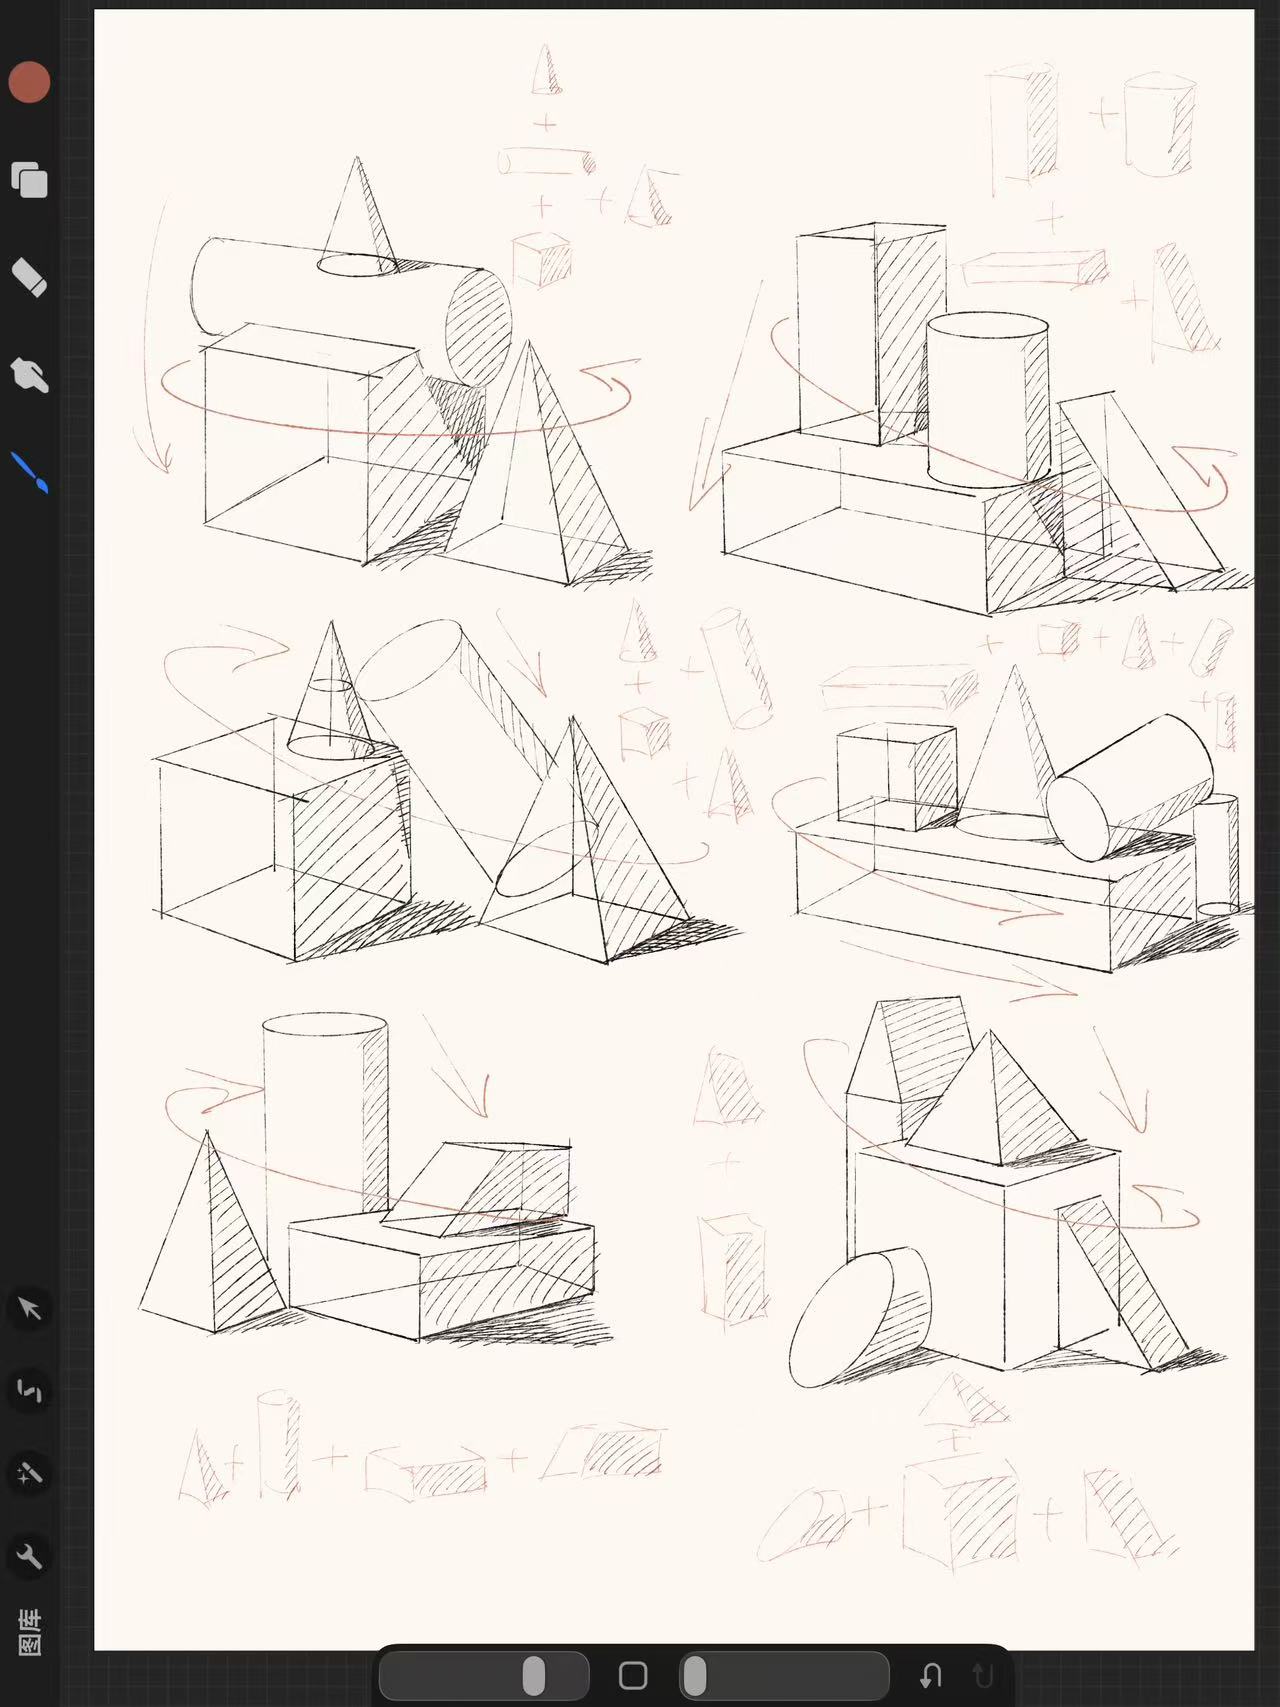
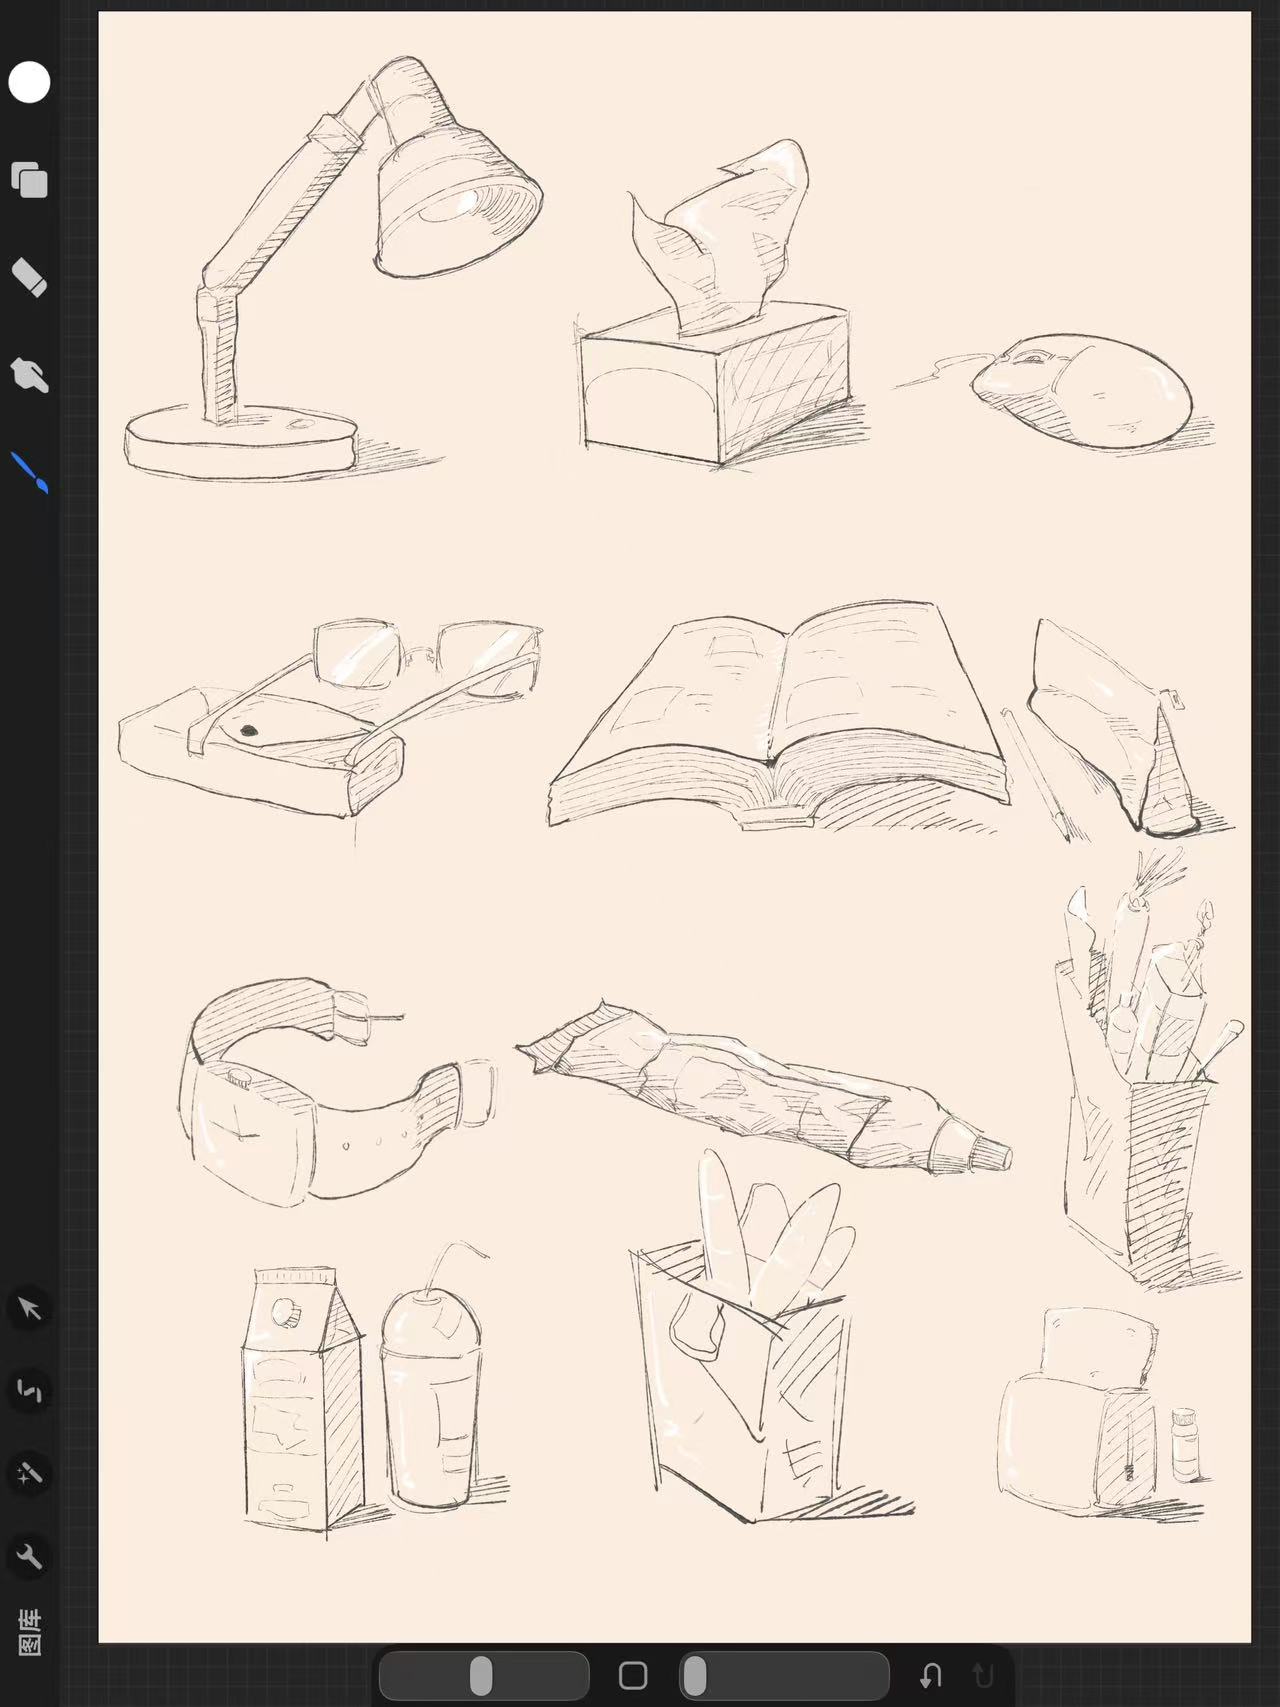
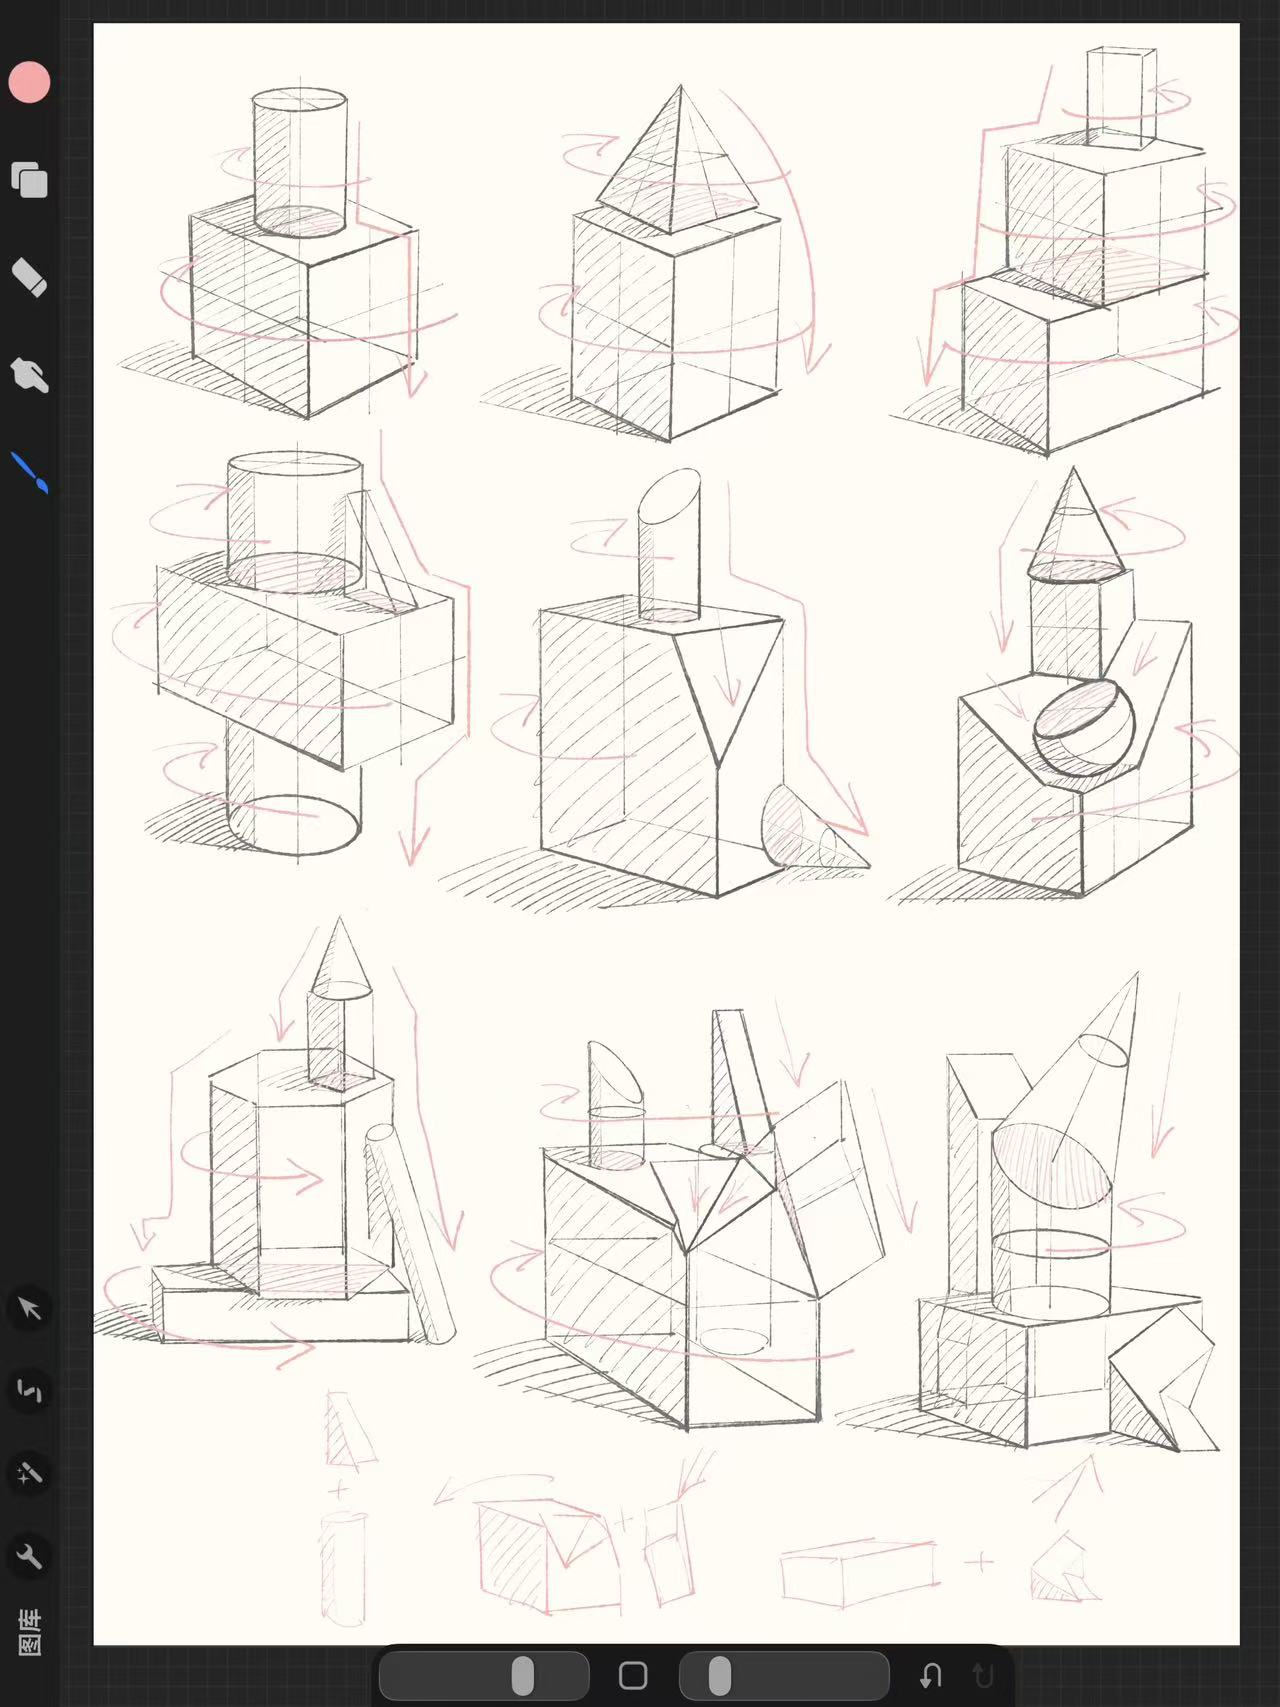
Don't skip this chapter. Almost every "my impasto doesn't look right" problem isn't actually about color — it's that the face was never broken down as a solid in the first place. Sketch through these four exercises in pencil on your iPad first. The goal isn't a perfect copy — it's to draw the planes and the terminator line.
Old Man Portrait: A Three-Stage Breakdown
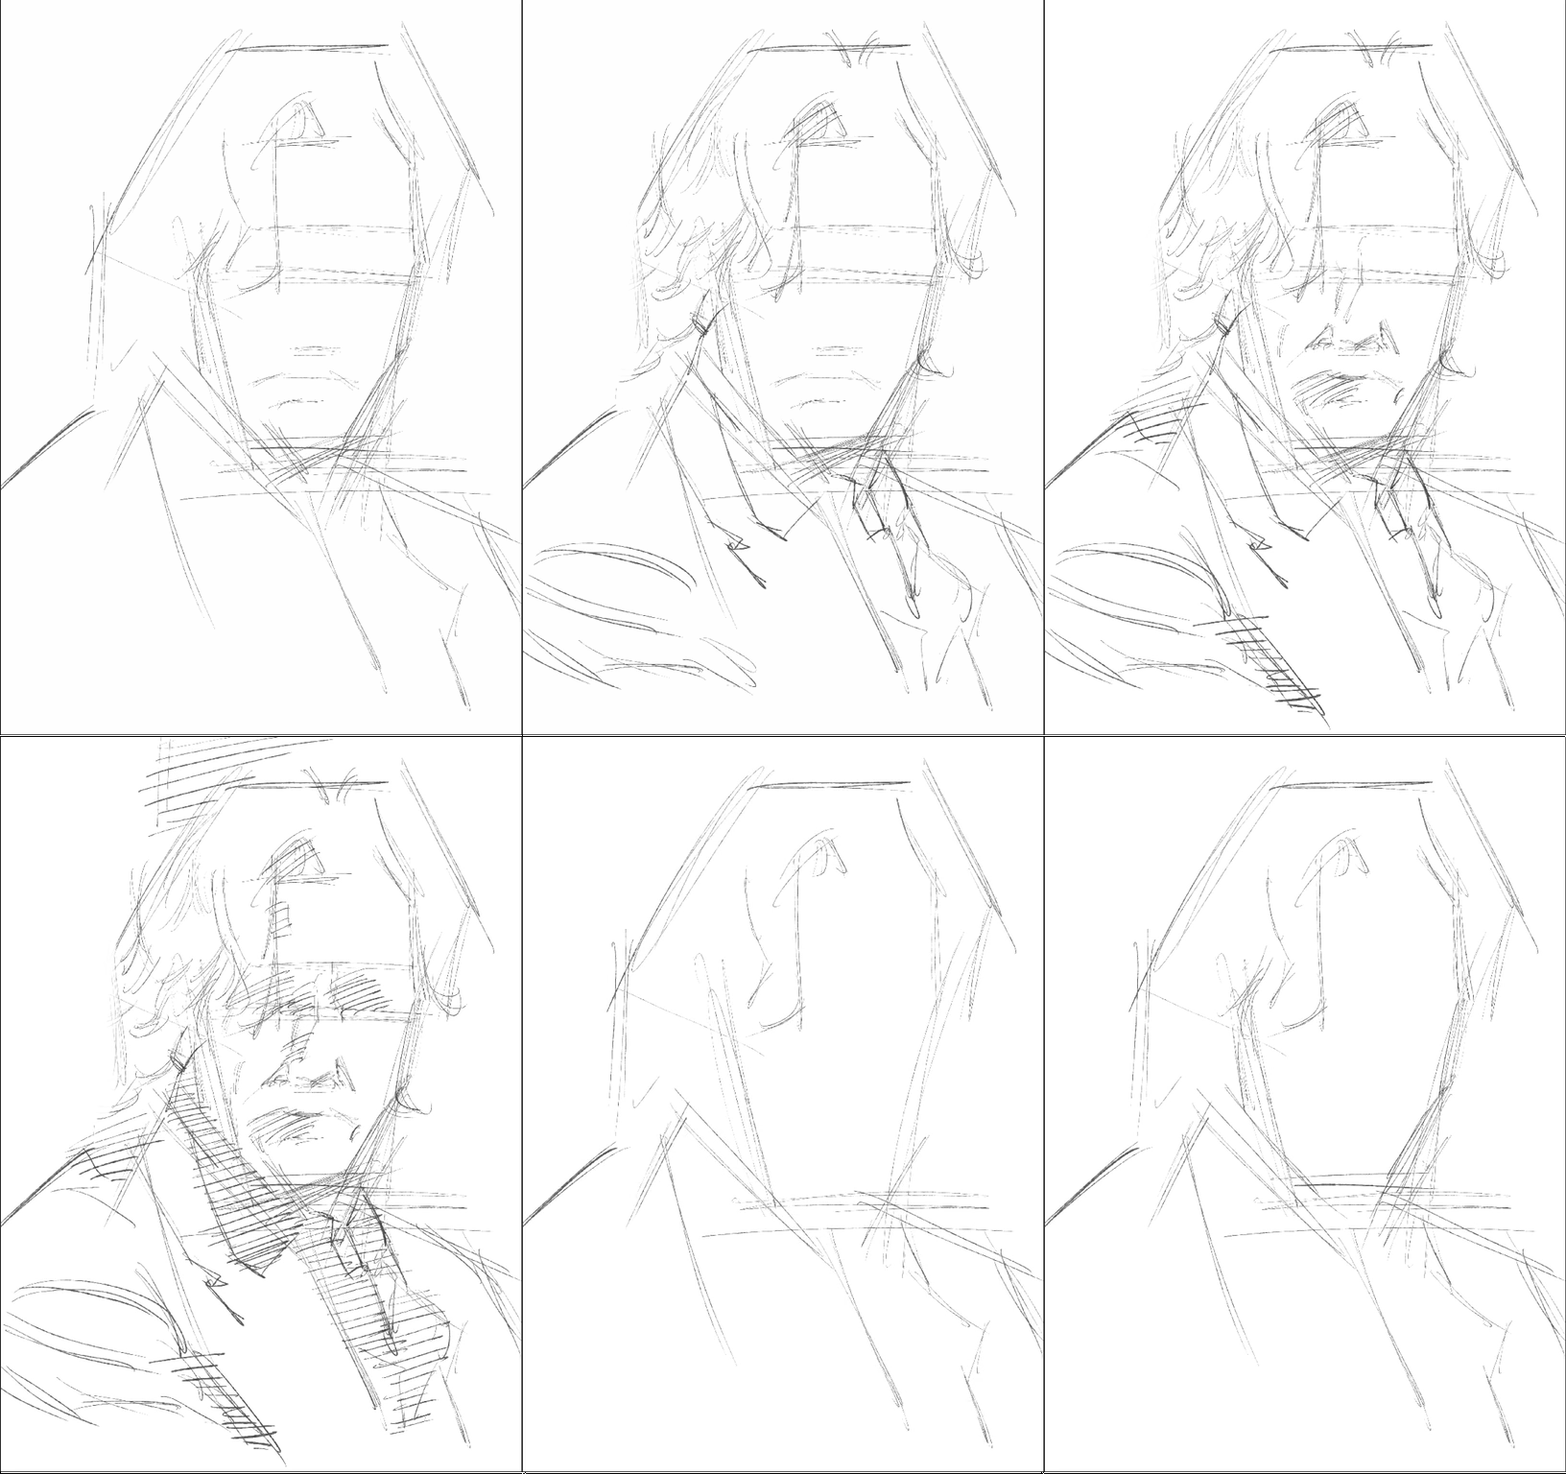
Sketch:
Draw structure, not outline.
Most beginners get this wrong. You're not tracing a recognizable face — you're using hatched lines to define the forehead plane, the cheekbone turn, and the jaw cut. The closer your sketch looks to a geometric solid, the cleaner the color blocking will sit later.
- Use a chalky brush — hardness 30%, opacity 60%
- No facial details yet — only the major planes
- Mark the terminator line in advance with hatching
- Add a separate "structure layer" in red for guide lines
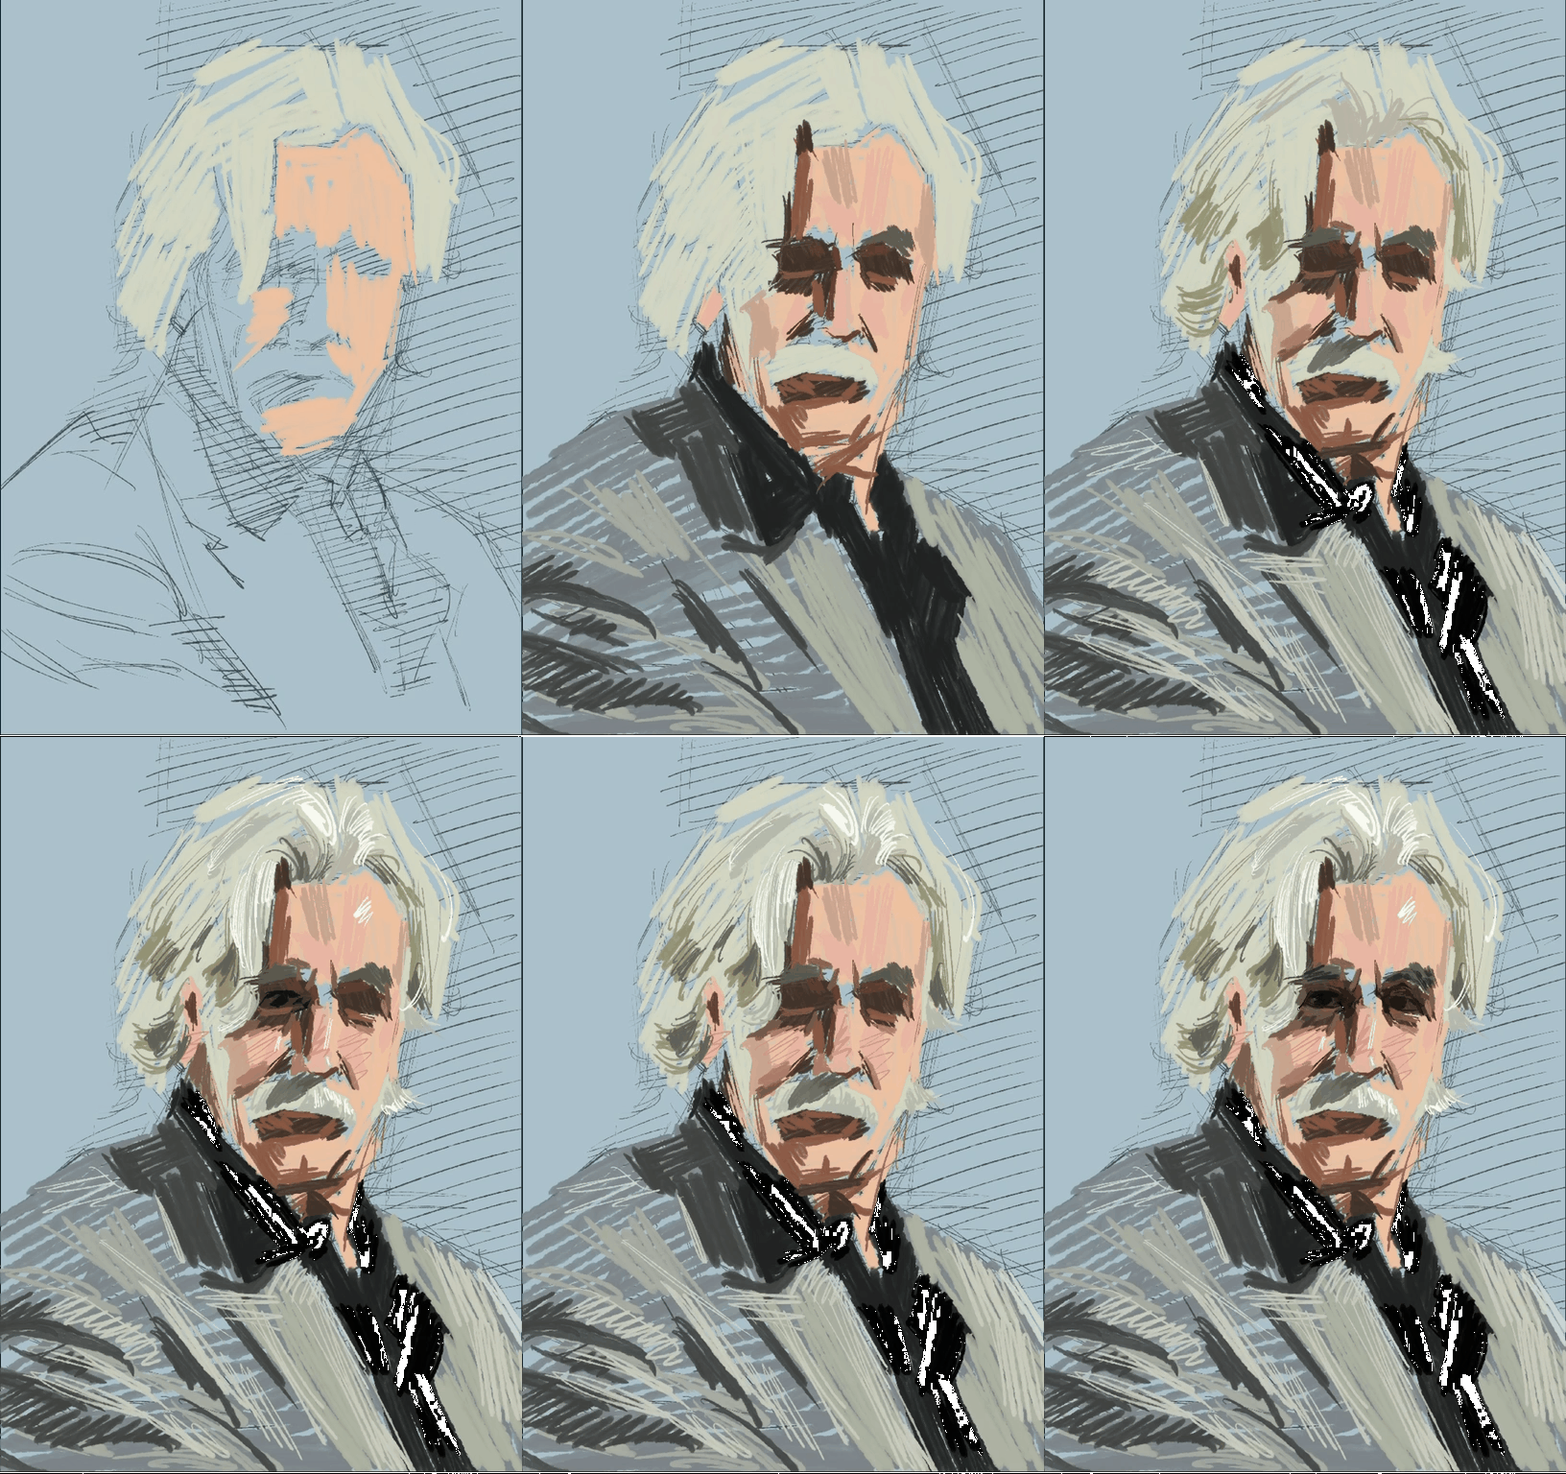
Color Blocking:
Three colors are enough.
Impasto looks "thick" because the artist dares to use large strokes and leaves the marks visible. In this stage you're only allowed three colors: light side (warm skin), shadow side (cool grey-violet), background (blue grey). No blending, no detailing — block it in and stop.
- Switch to a palette-knife brush, sized large
- Turn streamline OFF — keep every stroke raw
- Keep the shadow at a single value — don\'t sub-divide yet
- Treat the hair as one big "white shape" — no individual strands
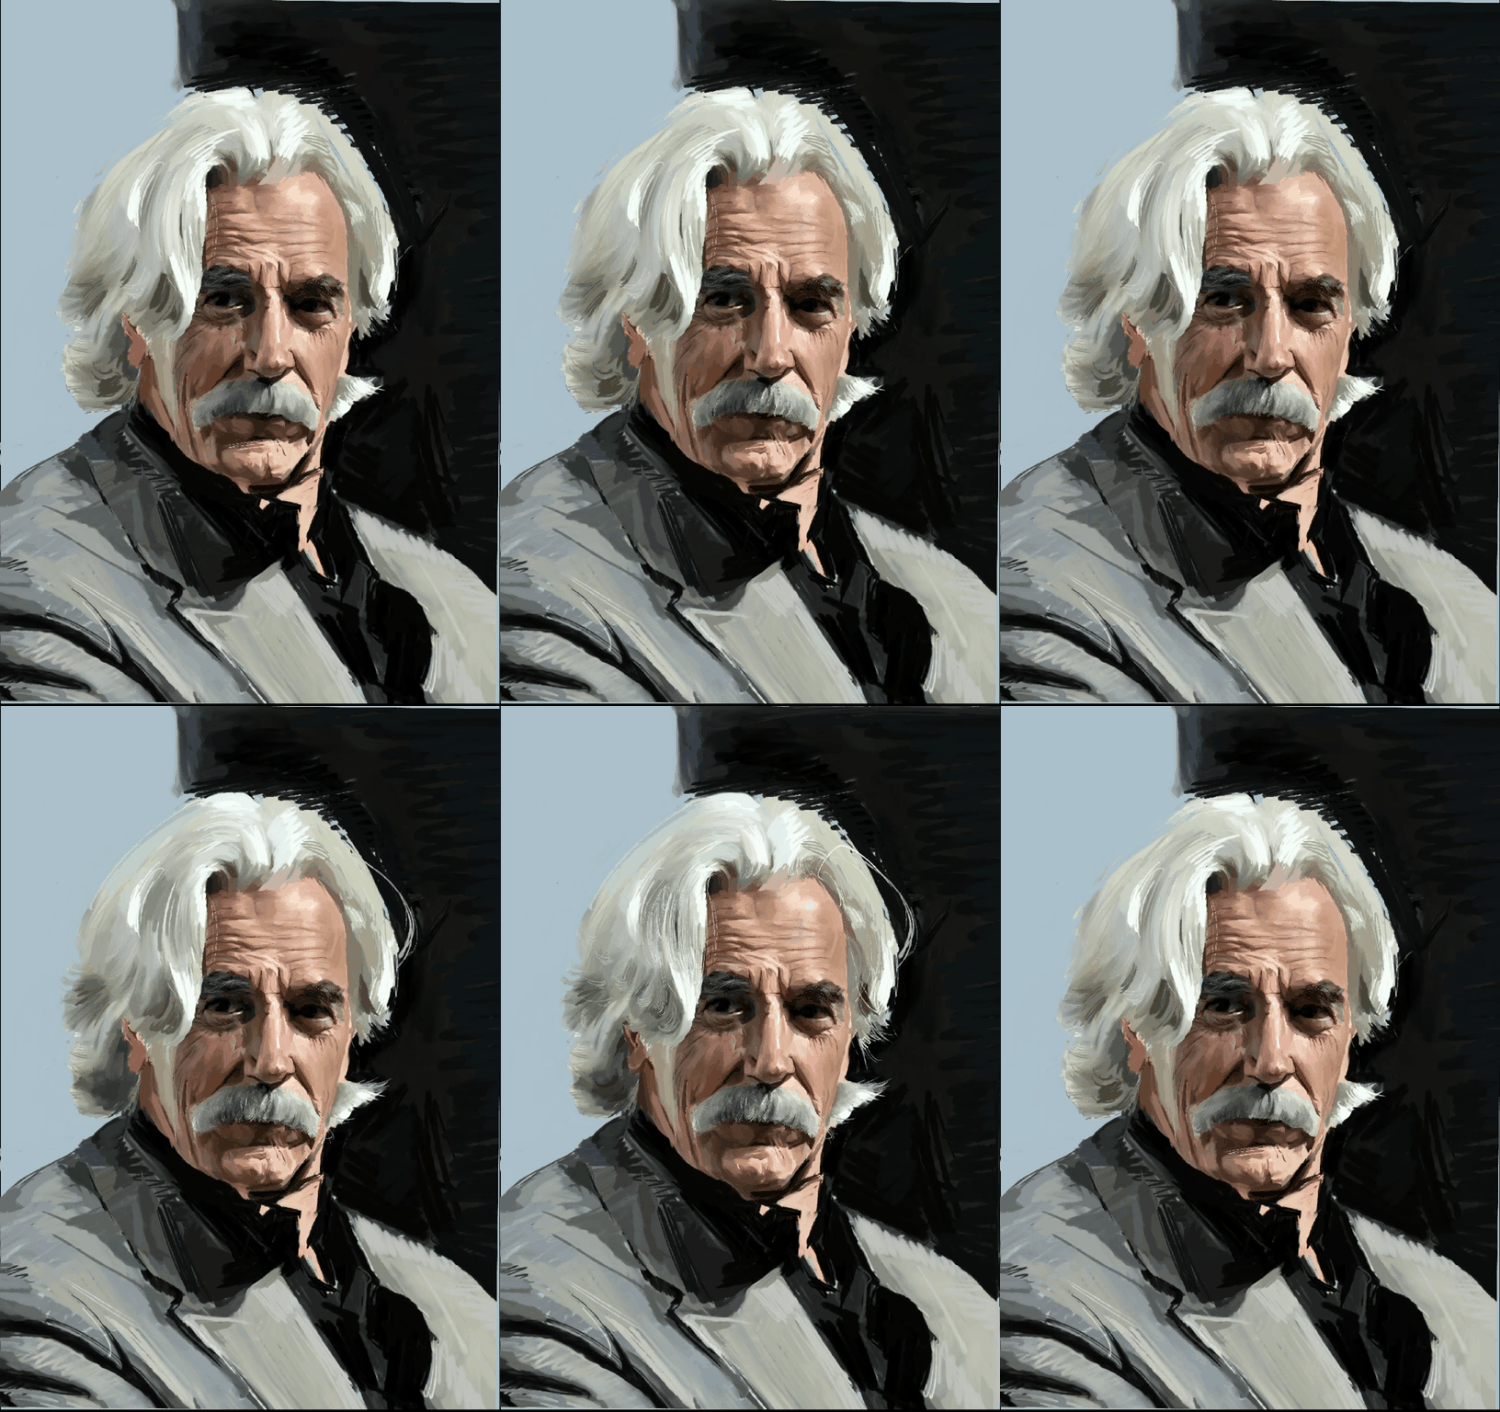
Final Detailing:
Less is more.
What really separates impasto painters is what they take away at the end. One dot of catch-light in the eye. A few flicks for the moustache. Wrinkles only on the cheekbones and under the eyes. Resist the urge to "just add one more thing" — that's the trap every beginner falls into.
- Switch to a hard detail brush, size dropped to 5%
- Add detail only in three zones: eyes, nostril shadow, mouth corners
- Use a soft blender to "smudge" hair into background
- Finish with a warm overlay to unify the whole image